


My set of nitrons are in! 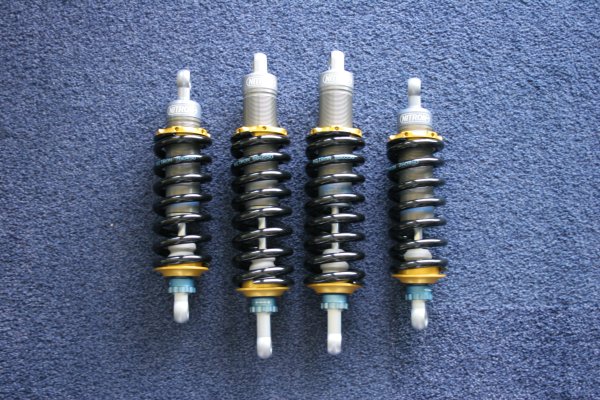 The set consists of:
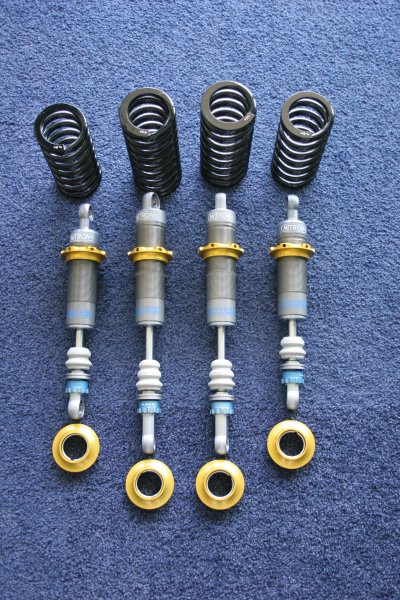
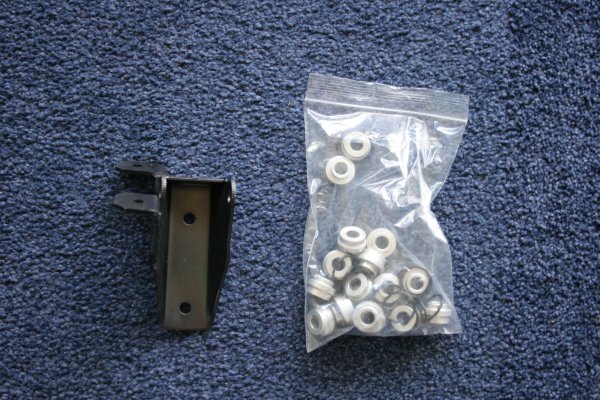 Before I ordered the kit, I did a lot of calculation. Arno has been
driving around with a set of nitrons for a while and recently changed
the springs for stronger version. The result is that you can set the
shock to a lower setting without losing control. Car Spring brand Front Rear Relative strength front Relative strenght rear Lotus Elise S2 (standard) Eibach 228 285 44% 56% Lotus Elise S2 (nitron) Nitron 325 400 45% 55% Lotus Elise S2 (Arno) Eibach 400 500 44% 56% Speedser (standard) Eibach 234 268 47% 53% Speedster (nitron) Nitron 375 450 45% 55% Speedster (Mark) Nitron 450 550 45% 55% In the end I went for the last line in the table, 450 front, 550 rear. This way I compensate for the higher waeight of the car and hopefully reduce a bit of the understeer with a lower spring strength in front. Before fitting the springs and dampers, I put a layer of tectyl on the springs for extra protection. 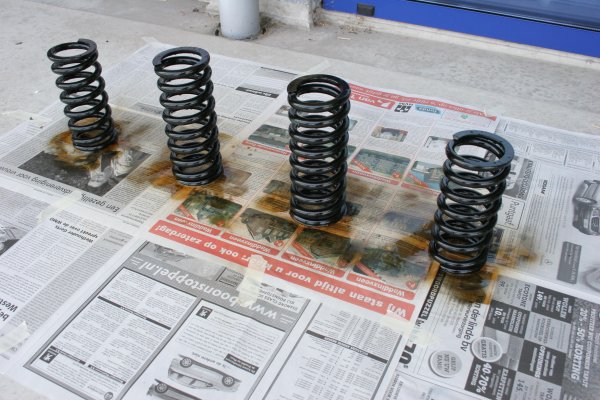 After all the prep work it was time to jack up the car and remove the wheels. 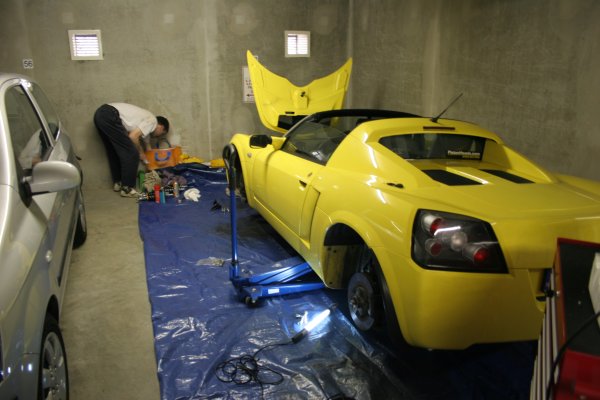 The left ront needs the upper damper bracket to be replaced. It's the one the ABS unit it fixed to. 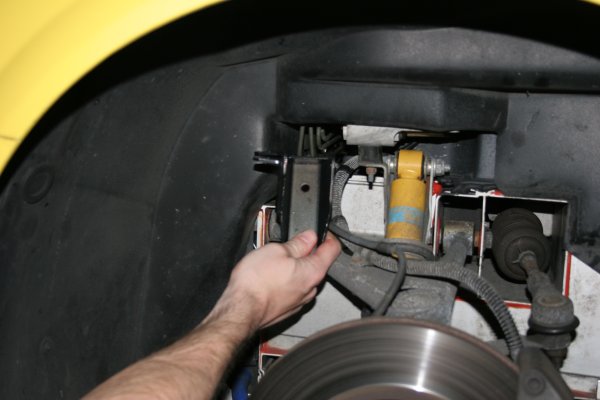 After removing the old bracket and placing it next to the new one, you can see it is a bit wider, allowing for the slightly wider damper. 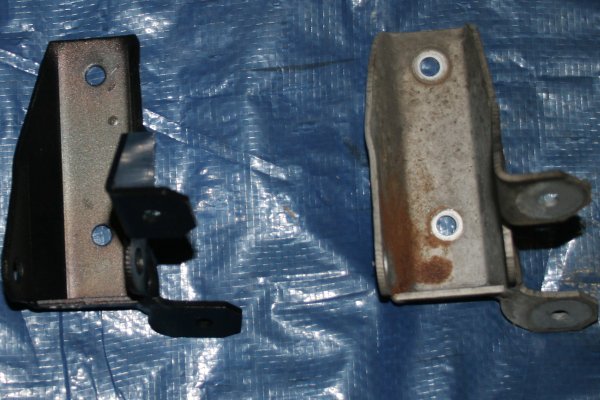 After that, the new bracket can be fitted. 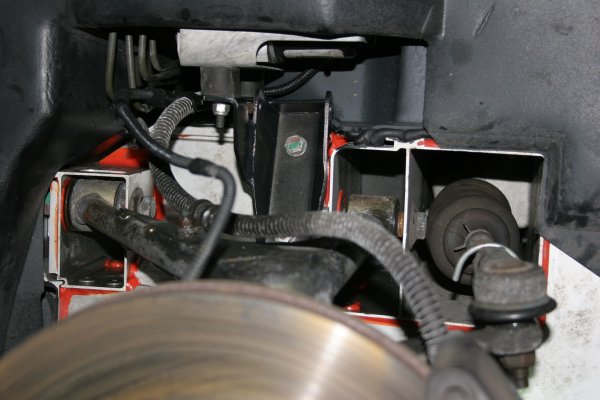 After placing the bracket the new dampers can be placed. On the picture below you can clearly see the difference between the old and the new dampers. 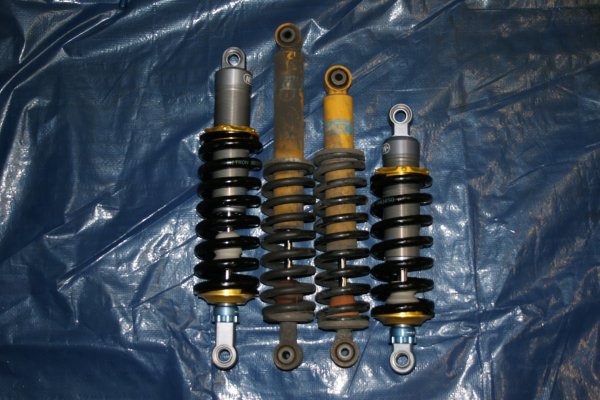 Before placing the dampers, we replaced the bolts in the hub. Standard 8.8 bolts are used, and there are some cases (including Arno's Elise) where they bend. We replaced them by 12.9 bolts, front and rear. This is little bit too hard, but the 10.9 are very hard to find. To compensate we used a little higher torque setting, 60Nm in stead of 45Nm. 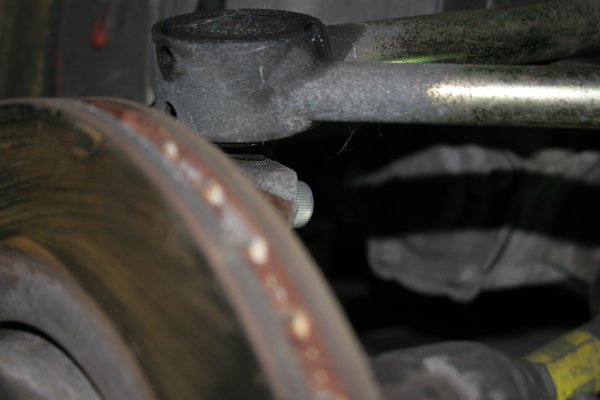 Before placing the dampers, we cleaned the wishbones and also put some tectyl on them for protection. After cleaning the new dampers were fitted and the bolts torqued up to 45Nm. 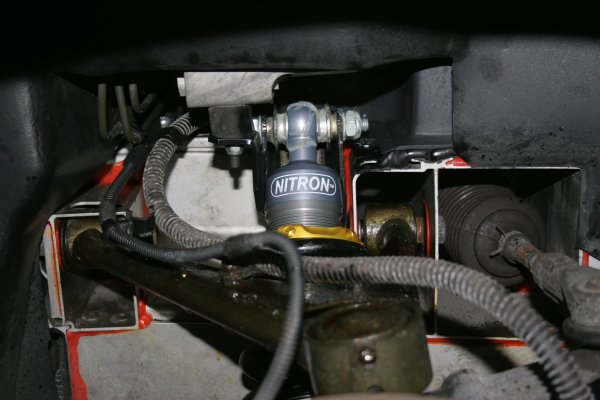
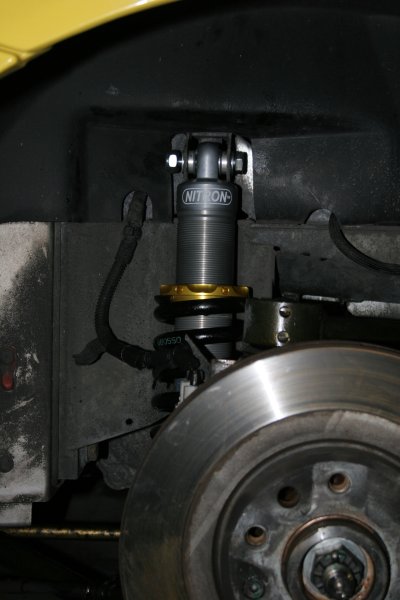 After rotation the car to do the other side, you could clearly see that the rideheight of the car will be lower. This picture is without any preload on the springs. Later on the car will be a bit higher. 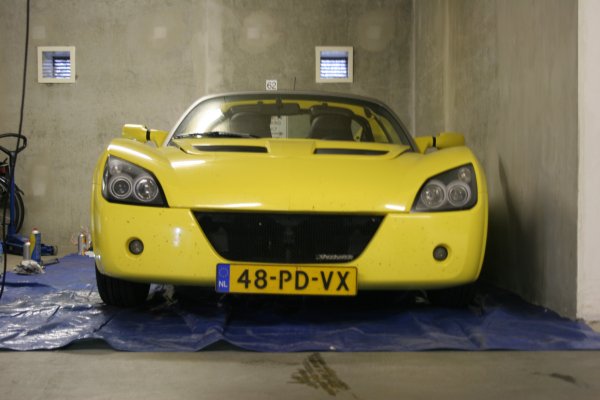 The other side is a bit easier, because the bracket doesn't need to be replaced. After all the dampers were replace we measured the ride height (ofcourse with 75KG's in each chair) and changed the preload on the springs. With about 20mm of preload (measured on the thread on the damper) the rideheight was about 120mm front and 120mm rear. The ride height wasn't adjusted perfectly, as it needs to be done again anyway when the new wheels come in. The nitrons were set to 18 clicks from hard front and 16 clicks from hard at the rear. The car now looks like this: 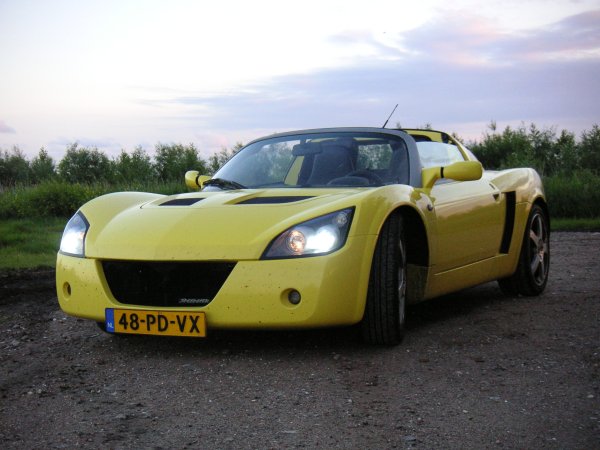 The car is very drivable like this. Because the dampers are set relatively soft (because of the harder springs) the car is quite comfortable on a bad road. And speedbumps are not a major issue (you still have to look out for them) because the car doesn't dive into its suspension that much. |


