


I've been looking at this gauge for quite a while. Recently they updated the firmware with the interesting xgauge option and they now have a european reseller which saves a fair amount of shipping and customs. So within a week of ordering through Ebay it arrived: 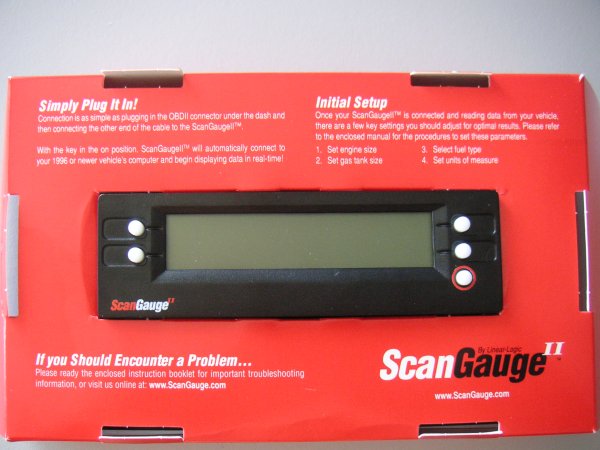 The idea is that you connect this gauge through the OBD connector (which is under the dash). Basically it functions as a:
I want to mount it in the center of the dash, just below the dashboard facia. In order to do that I had to make a bracket. Choose alumiunium to do that. So after a bit of templating with cardboard, bit of figuresawing and filing I ended up with a bracket. 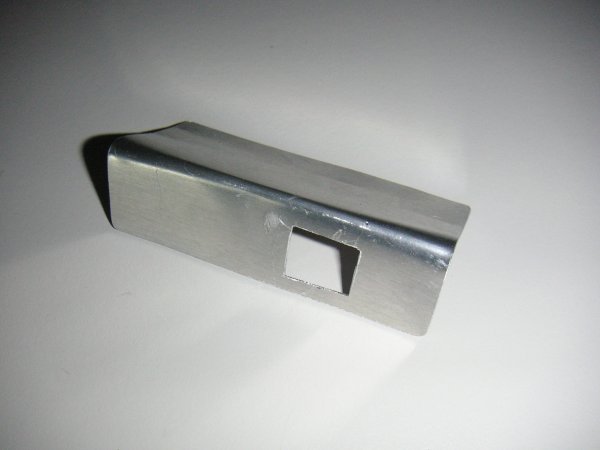 I made a hole in the bracket so I could still fit the RJ45 connector through the back. In order to fix it to the dash I choose the velcro option again. That way it will be removable. So stuck some heavy duty velcro on the bracket. 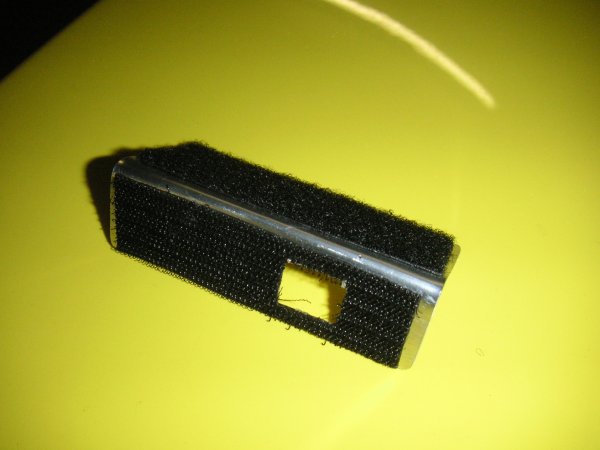 And some on the back of the ScanGauge. 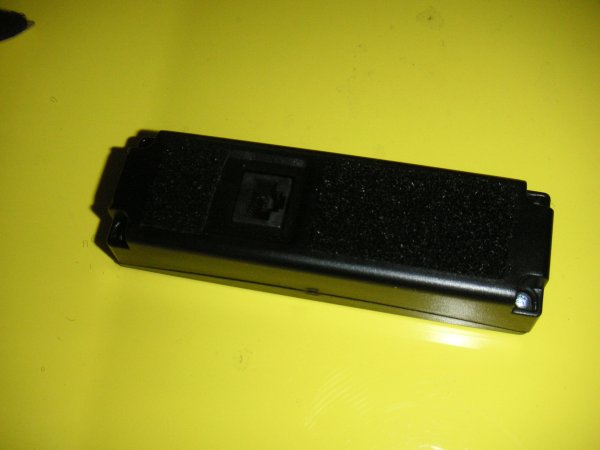 So now it all fits together AND there is room for the connector 😊. 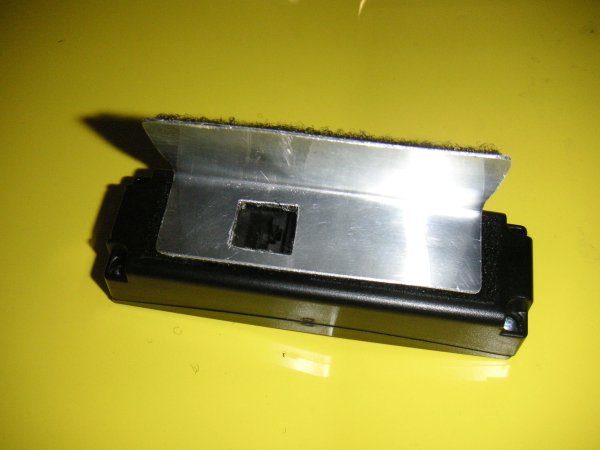 After putting another bit of velcro on the dash it seem to be quite secure in place. 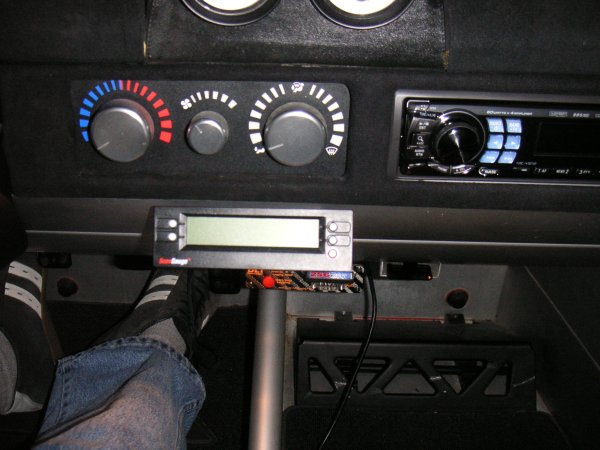 The gauge comes with quite a nice cable. But as the OBD connector is pretty close to the location where I mounted the ScanGauge the cable is much too long. So I decided to make a shorter cable. First up I needed a OBD connector to solder. So back to Ebay and bought two cheap connectors (2 was only lightly more with the shipping from Hong Kong 😊 ). Connector looks pretty ok. 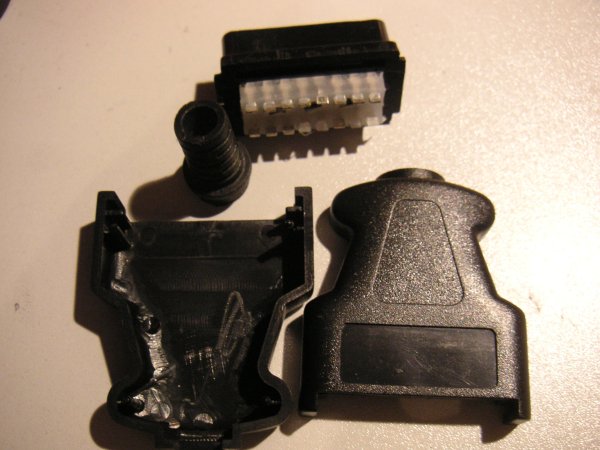 Next I had to figure out how the cable was made up. So used the trusty multimeter and found the pinout. In the table I refer to the pin numbers. The numbers can be found it the pictures of the connectors. 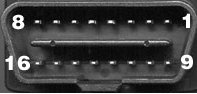
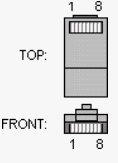 RJ45 OBD2 Function 1 4 CGND 1 5 SGND 2 6 Can high 3 14 Can low 4 2 Bus+ J1850 5 10 Bus- J1850 6 7 ISO9141 K-Line 7 15 ISO9141 L-Line 8 16 Battery voltage So I used a network patchcable I had lying around and cut a part of in the length I liked. Striped one end and soldered it to the connector. 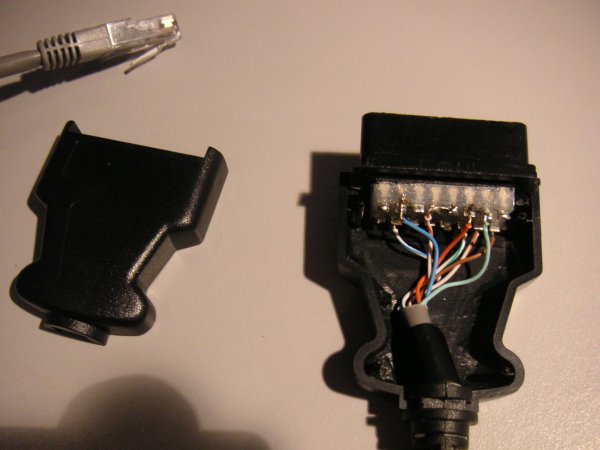 So I ended up with a nice short cable. 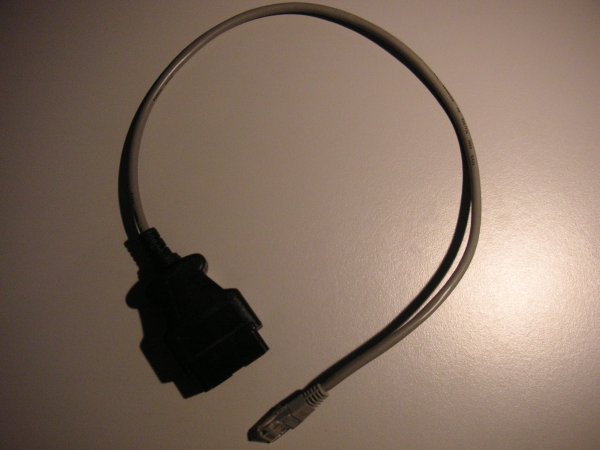 When fitting it on the car it actually was still slightly too long. But I had to tiewrap it in place anyhow, so it looks reasonaly ok. 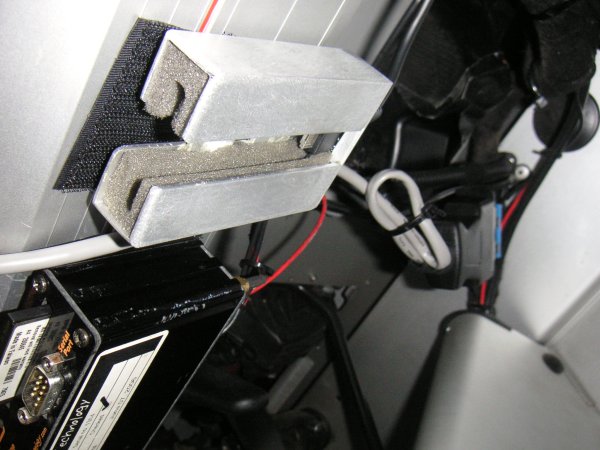
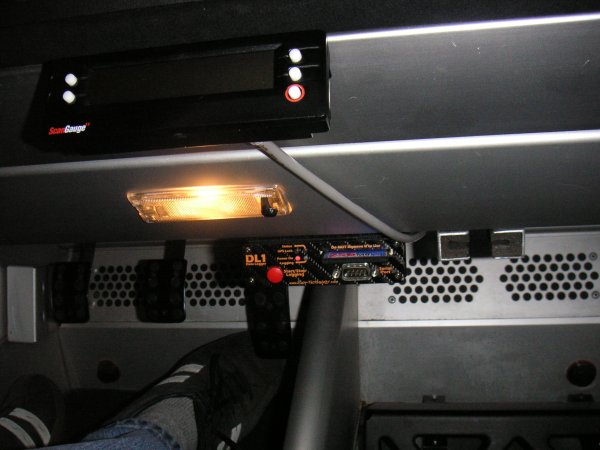 Everything seems to fit nicely at the back of the unit. 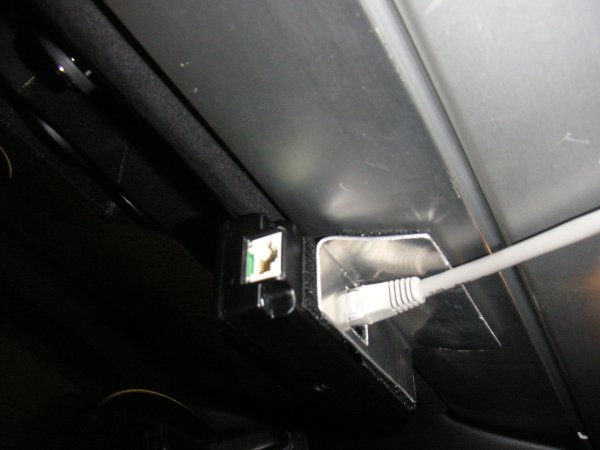 So had a bit of a drive so see how it works. Set up a basic gauge display. The refresh rate is reasonable. OBD isn't very fast and the more variables you query the slower it gets. So with all the info the unit reads for fuel consumption and the gauge display you get an update approx. every 1.5 seconds. The setup I made to test looks like this: 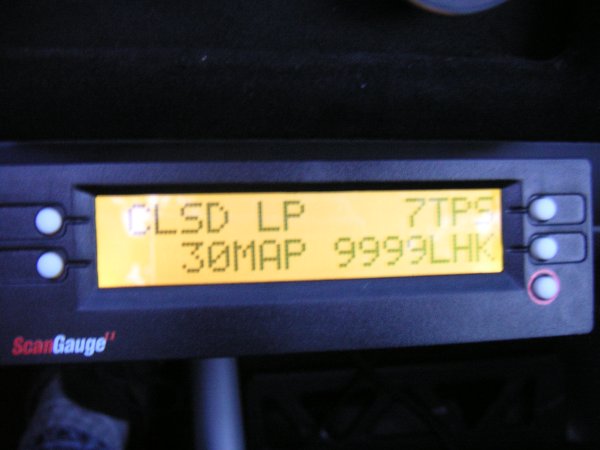 Just to explain (picture was taken with the car standing still):
So that is gauge mode. There also is a trip mode which has current trip, yesterday's trip, and current fuel tank status. It seems to be reasonably accurate, although I can only say after driving more. Some pictures to show. First up how many km's I should be able to do on this tank based on current fuel consumption 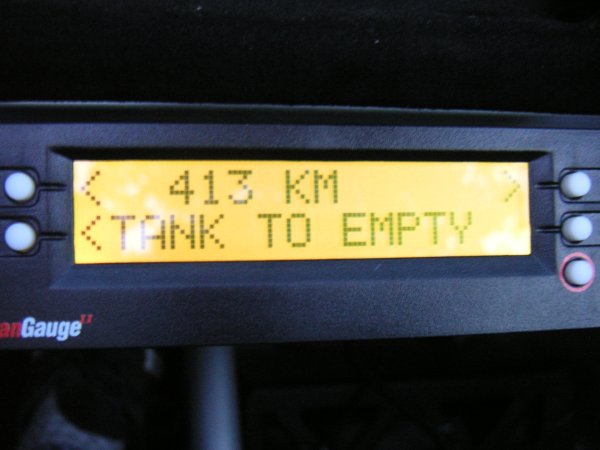 How many liters should be left in the tank. 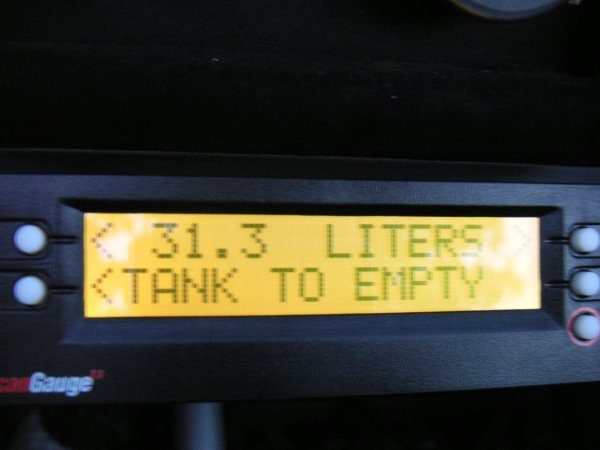 And for today's trip the maximum RPM's it logged. 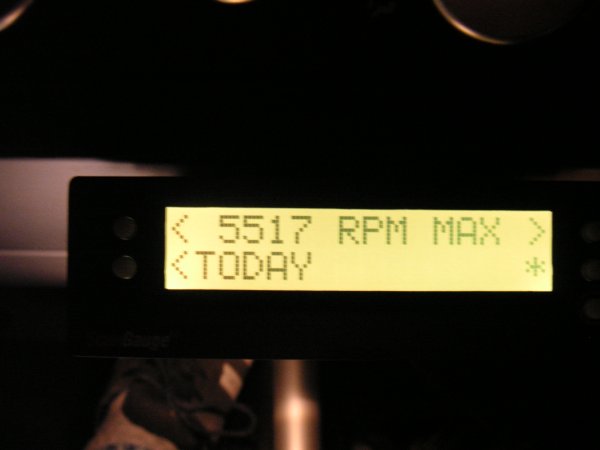 Lastly, there is also a mode to read out the fault codes. Currently the ECU didn't have any codes. 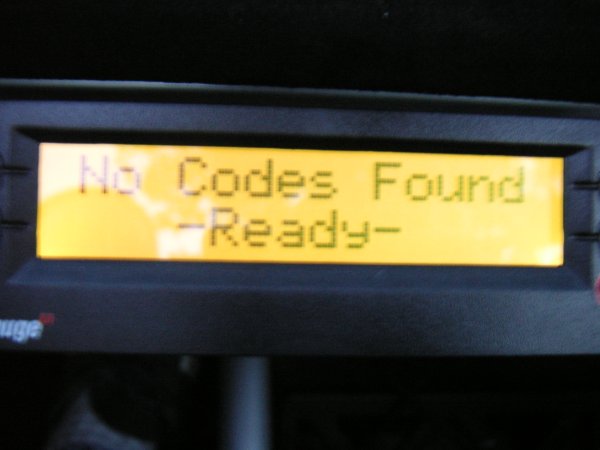 The second line of the display reads ready. Which means all the long term tests have completed (O2 sensor, catalyst and EGR tests on the Speedster). The vx220 ECU allows to use the ScanGauge in the fastest mode. I had good results with this setting. I've done some research work for the XGauge option. I add info on this page when I find new data. The information can be found on: |


