My current scangauge in the C1 is running firmware 3.15 and the one in my Speedster is even older. [2013-01-29_17-58-40_241.jpg 2013-01-29_18-10-38_142.jpg 2013-01-29_18-10-55_642.jpg 2013-01-29_18-11-22_516.jpg 2013-01-29_18-12-22_421.jpg 2013-01-29_18-12-55_938.jpg 2013-01-29_18-13-31_679.jpg 2013-01-29_18-14-04_605.jpg 2013-01-29_18-21-22_651.jpg 2013-01-29_18-35-49_579.jpg]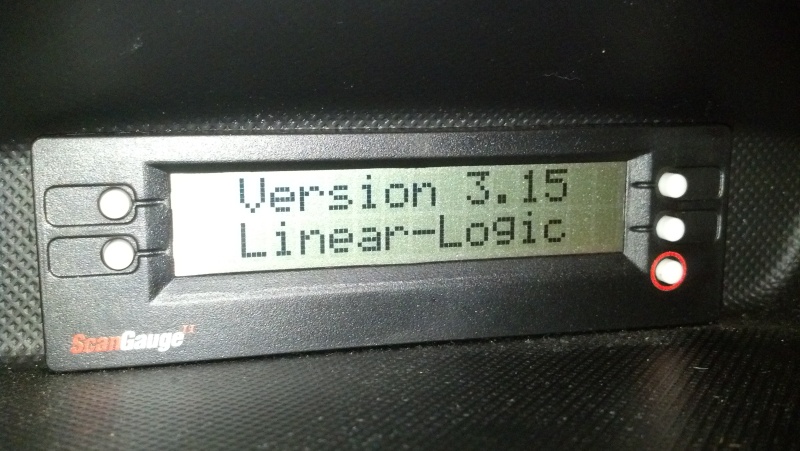 Version 3.15 has some annoying bugs, especially speed related. So I asked Linear Logic about an upgrade option. The nice thing is that they provide two. You can either send in your complete unit or they send you a replacement circuitboard and you don’t have to return the old one! So I obviously opted for the second option :) [2013-01-29_17-58-40_241.jpg 2013-01-29_18-10-38_142.jpg 2013-01-29_18-10-55_642.jpg 2013-01-29_18-11-22_516.jpg 2013-01-29_18-12-22_421.jpg 2013-01-29_18-12-55_938.jpg 2013-01-29_18-13-31_679.jpg 2013-01-29_18-14-04_605.jpg 2013-01-29_18-21-22_651.jpg 2013-01-29_18-35-49_579.jpg] Installing the new circuitboard is pretty easy. Remove the back cover of the unit by removing the 4 little screws and you’re left with the exposed backside of the circuitboard. [2013-01-29_17-58-40_241.jpg 2013-01-29_18-10-38_142.jpg 2013-01-29_18-10-55_642.jpg 2013-01-29_18-11-22_516.jpg 2013-01-29_18-12-22_421.jpg 2013-01-29_18-12-55_938.jpg 2013-01-29_18-13-31_679.jpg 2013-01-29_18-14-04_605.jpg 2013-01-29_18-21-22_651.jpg 2013-01-29_18-35-49_579.jpg] Lift it out of the case and remove the button strips from the front (between the display and the circuitboard). [2013-01-29_17-58-40_241.jpg 2013-01-29_18-10-38_142.jpg 2013-01-29_18-10-55_642.jpg 2013-01-29_18-11-22_516.jpg 2013-01-29_18-12-22_421.jpg 2013-01-29_18-12-55_938.jpg 2013-01-29_18-13-31_679.jpg 2013-01-29_18-14-04_605.jpg 2013-01-29_18-21-22_651.jpg 2013-01-29_18-35-49_579.jpg] Using a small screwdriver, carefully pry the catch for the flatcable that goes to the display loose. [2013-01-29_17-58-40_241.jpg 2013-01-29_18-10-38_142.jpg 2013-01-29_18-10-55_642.jpg 2013-01-29_18-11-22_516.jpg 2013-01-29_18-12-22_421.jpg 2013-01-29_18-12-55_938.jpg 2013-01-29_18-13-31_679.jpg 2013-01-29_18-14-04_605.jpg 2013-01-29_18-21-22_651.jpg 2013-01-29_18-35-49_579.jpg] You can now slide the flatcable out. [2013-01-29_17-58-40_241.jpg 2013-01-29_18-10-38_142.jpg 2013-01-29_18-10-55_642.jpg 2013-01-29_18-11-22_516.jpg 2013-01-29_18-12-22_421.jpg 2013-01-29_18-12-55_938.jpg 2013-01-29_18-13-31_679.jpg 2013-01-29_18-14-04_605.jpg 2013-01-29_18-21-22_651.jpg 2013-01-29_18-35-49_579.jpg] The LCD is connected through another connector to the circuitboard. Carefully slide it off. [2013-01-29_17-58-40_241.jpg 2013-01-29_18-10-38_142.jpg 2013-01-29_18-10-55_642.jpg 2013-01-29_18-11-22_516.jpg 2013-01-29_18-12-22_421.jpg 2013-01-29_18-12-55_938.jpg 2013-01-29_18-13-31_679.jpg 2013-01-29_18-14-04_605.jpg 2013-01-29_18-21-22_651.jpg 2013-01-29_18-35-49_579.jpg] Now we can swap over the circuitboards. [2013-01-29_17-58-40_241.jpg 2013-01-29_18-10-38_142.jpg 2013-01-29_18-10-55_642.jpg 2013-01-29_18-11-22_516.jpg 2013-01-29_18-12-22_421.jpg 2013-01-29_18-12-55_938.jpg 2013-01-29_18-13-31_679.jpg 2013-01-29_18-14-04_605.jpg 2013-01-29_18-21-22_651.jpg 2013-01-29_18-35-49_579.jpg] Don’t forget to remove the sticker from the RJ45 connector on the back. [2013-01-29_17-58-40_241.jpg 2013-01-29_18-10-38_142.jpg 2013-01-29_18-10-55_642.jpg 2013-01-29_18-11-22_516.jpg 2013-01-29_18-12-22_421.jpg 2013-01-29_18-12-55_938.jpg 2013-01-29_18-13-31_679.jpg 2013-01-29_18-14-04_605.jpg 2013-01-29_18-21-22_651.jpg 2013-01-29_18-35-49_579.jpg] Slide the LCD back on the circuitboard, reconnect the flatcable, slide the buttons back and reassemble the case. Now power on, and you’ve got an updated scangauge ;) [2013-01-29_17-58-40_241.jpg 2013-01-29_18-10-38_142.jpg 2013-01-29_18-10-55_642.jpg 2013-01-29_18-11-22_516.jpg 2013-01-29_18-12-22_421.jpg 2013-01-29_18-12-55_938.jpg 2013-01-29_18-13-31_679.jpg 2013-01-29_18-14-04_605.jpg 2013-01-29_18-21-22_651.jpg 2013-01-29_18-35-49_579.jpg]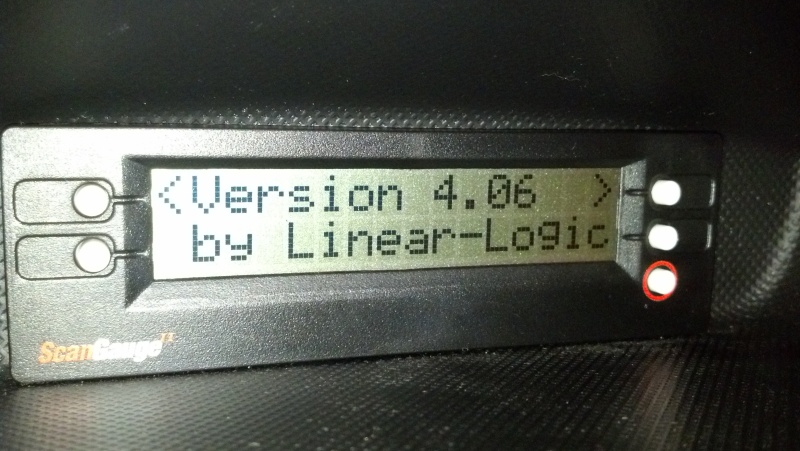 |