So this should now have created a working mantis website. Try and open it in you webbrowser:http://mantis-demo/mantis/
[mantis-addusertoproject.png mantis-addusertoproject.thumb.png mantis-createproject.png mantis-createproject.thumb.png mantis-createuser.png mantis-createuser.thumb.png mantis-firstissue.png mantis-firstissue.thumb.png mantis-login.png mantis-login.thumb.png mantis-mysql.png mantis-mysql.thumb.png mantis-openedissue.png mantis-openedissue.thumb.png mantis-setuserpassword.png mantis-setuserpassword.thumb.png]
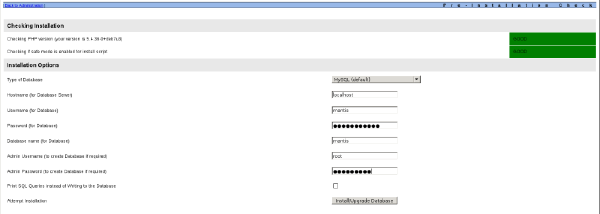
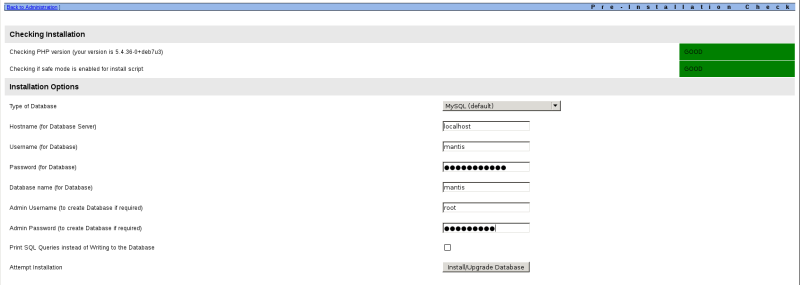
Fill in the following information:
- hostname: localhost
- username: mantis
- password: mantis-demo
- database name: mantis
- admin : root
- password: your password
Choose: Install/Upgrade Database
This should provide no errors. You can now click the link at the bottom of the page.
To keep the installation as secure as possible, remove the admin directory from the installation
cd /opt/mantis
rm -rf adminConfiguring Mantis BT
Now that the basic installation is done, we can configure Mantis.
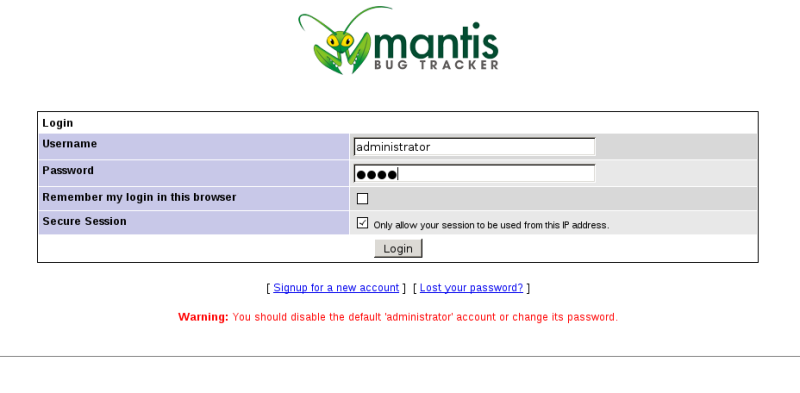
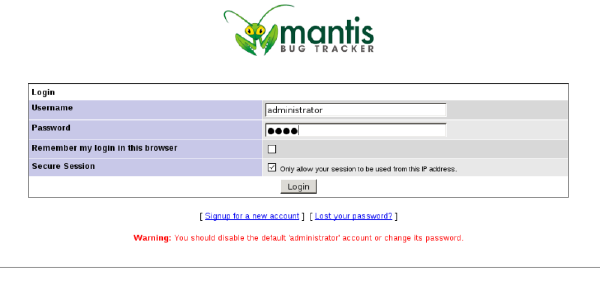
Go back to the webinterface and login:
http://mantis-demo/mantis/
Username: administrator
Password: root
[mantis-addusertoproject.png mantis-addusertoproject.thumb.png mantis-createproject.png mantis-createproject.thumb.png mantis-createuser.png mantis-createuser.thumb.png mantis-firstissue.png mantis-firstissue.thumb.png mantis-login.png mantis-login.thumb.png mantis-mysql.png mantis-mysql.thumb.png mantis-openedissue.png mantis-openedissue.thumb.png mantis-setuserpassword.png mantis-setuserpassword.thumb.png]
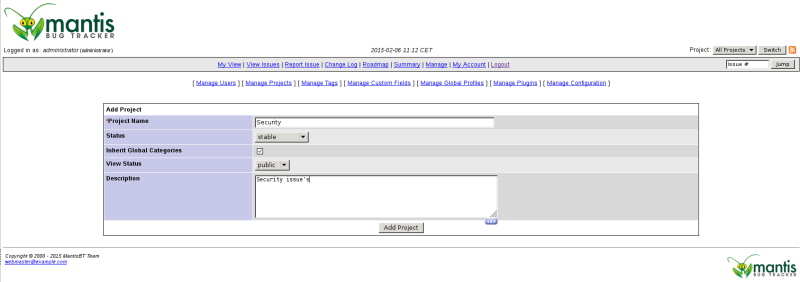
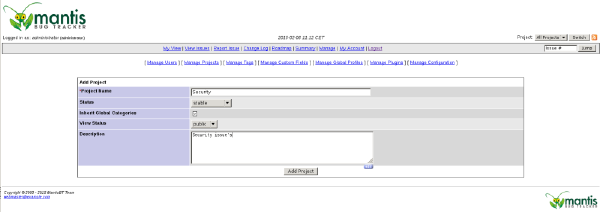
Now you should see the Mantis interface with the Add Project page. We’ll make a new project, I
will use the name Security here in this example.
[mantis-addusertoproject.png mantis-addusertoproject.thumb.png mantis-createproject.png mantis-createproject.thumb.png mantis-createuser.png mantis-createuser.thumb.png mantis-firstissue.png mantis-firstissue.thumb.png mantis-login.png mantis-login.thumb.png mantis-mysql.png mantis-mysql.thumb.png mantis-openedissue.png mantis-openedissue.thumb.png mantis-setuserpassword.png mantis-setuserpassword.thumb.png]
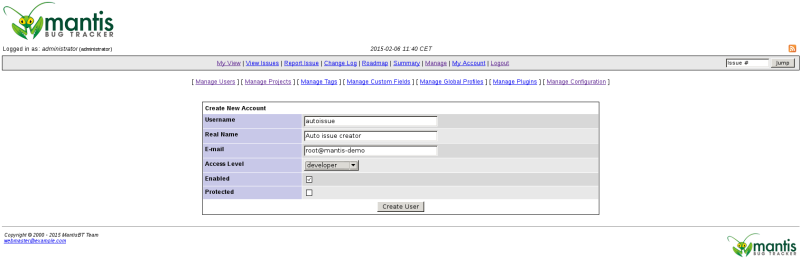
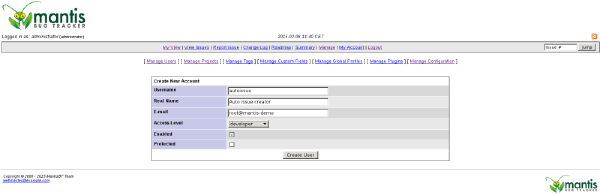
Now that we have a project, we need to create a user that will be used in the script to create
issue’s.
Go to: Manage Users and choose Create New Account.
For this example I will use the user autoissue with password autoissue. The user needs developer
Access Level, because this is the lowest level which has rights to assign issue’s to users.
As email adress I will use root@mantis-demo so the activation email will be sent to the local
root user.
[mantis-addusertoproject.png mantis-addusertoproject.thumb.png mantis-createproject.png mantis-createproject.thumb.png mantis-createuser.png mantis-createuser.thumb.png mantis-firstissue.png mantis-firstissue.thumb.png mantis-login.png mantis-login.thumb.png mantis-mysql.png mantis-mysql.thumb.png mantis-openedissue.png mantis-openedissue.thumb.png mantis-setuserpassword.png mantis-setuserpassword.thumb.png]
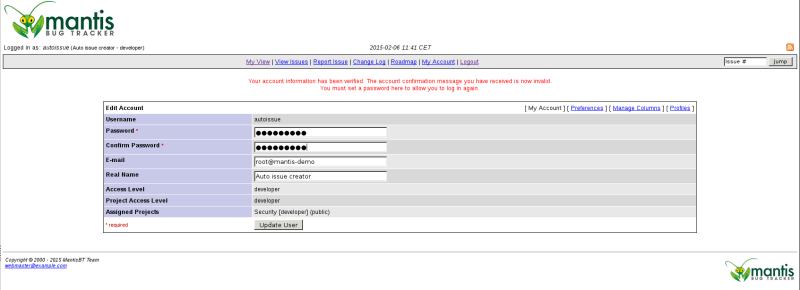
On the commandline check for the activation url in the mailbox
grep http /var/mail/mail | tail -1Copy and paste the URL in your webbrowser and set the account password. In this example I will
use autoissue, but a stronger password is recommended. Choose Update User.
[mantis-addusertoproject.png mantis-addusertoproject.thumb.png mantis-createproject.png mantis-createproject.thumb.png mantis-createuser.png mantis-createuser.thumb.png mantis-firstissue.png mantis-firstissue.thumb.png mantis-login.png mantis-login.thumb.png mantis-mysql.png mantis-mysql.thumb.png mantis-openedissue.png mantis-openedissue.thumb.png mantis-setuserpassword.png mantis-setuserpassword.thumb.png]
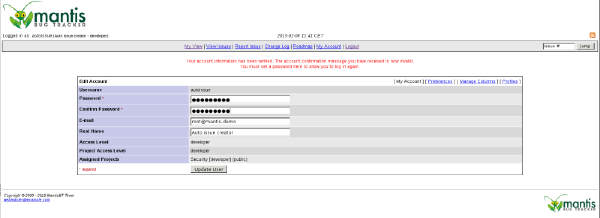
This will return you to the login screen. Log in again as administrator.
[mantis-addusertoproject.png mantis-addusertoproject.thumb.png mantis-createproject.png mantis-createproject.thumb.png mantis-createuser.png mantis-createuser.thumb.png mantis-firstissue.png mantis-firstissue.thumb.png mantis-login.png mantis-login.thumb.png mantis-mysql.png mantis-mysql.thumb.png mantis-openedissue.png mantis-openedissue.thumb.png mantis-setuserpassword.png mantis-setuserpassword.thumb.png]
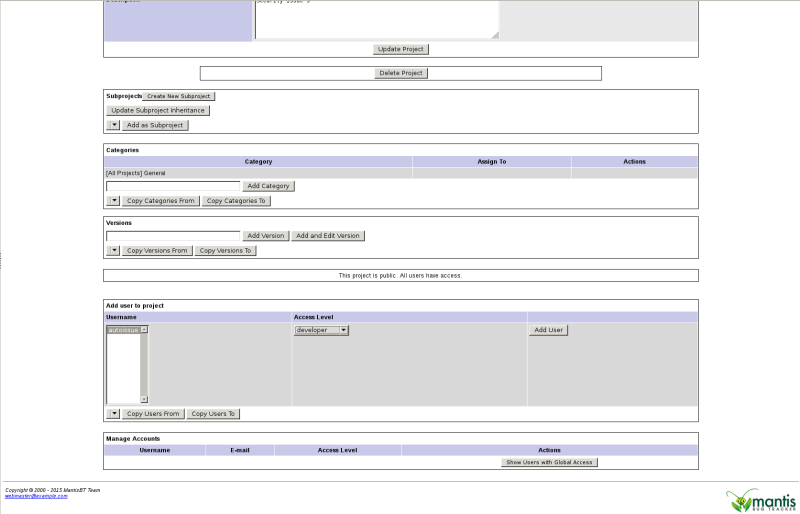
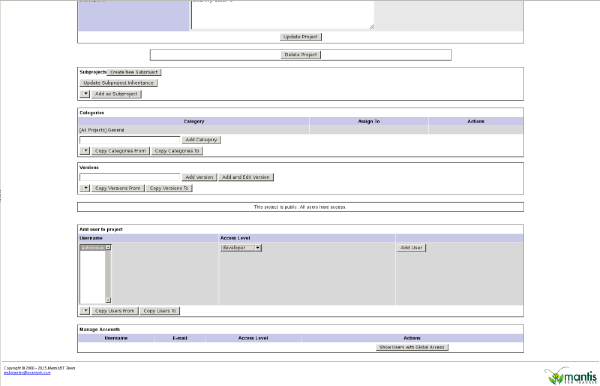
Choose Manage and then Manage Projects and click the Security project.
In the section Add user to project choose autoissue with accesslevel developer and click Add User.
[mantis-addusertoproject.png mantis-addusertoproject.thumb.png mantis-createproject.png mantis-createproject.thumb.png mantis-createuser.png mantis-createuser.thumb.png mantis-firstissue.png mantis-firstissue.thumb.png mantis-login.png mantis-login.thumb.png mantis-mysql.png mantis-mysql.thumb.png mantis-openedissue.png mantis-openedissue.thumb.png mantis-setuserpassword.png mantis-setuserpassword.thumb.png]
This should conclude the (very) basic configuration of Mantis.
rss2mantis
Next we need to setup the automatic interface to get data from an RSS feed into mantis. I made a script to do this, called rss2mantis.
cd /opt
wget -O - https://www.verboom.net/blog/20150206.0/rss2mantis.tar.gz | tar xzvf -
chown -R root.root rss2mantisNow we need to configure rss2mantis. The example below puts in a test rss feed so you can check if the script works.
cd /opt/rss2mantis
cat - > rss2mantis.ini <[test]
url = “https://www.verboom.net/blog/20150206.0/test.xml"
name = “test”
category = “General”
EOFNow we can test the script.
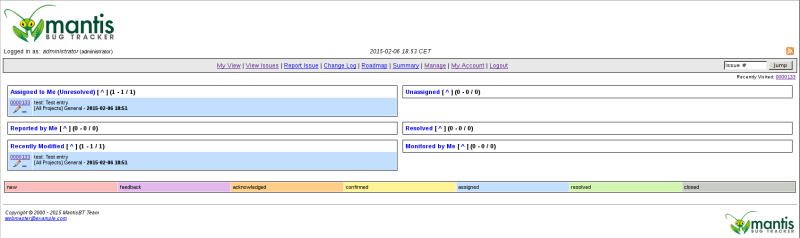
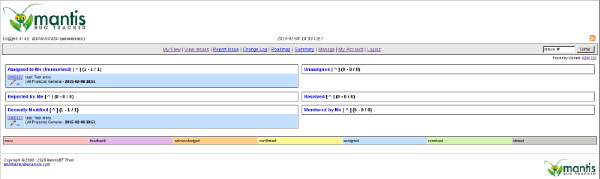
./rss2mantis -f rss2mantis.iniGo back to the mantis webinterface and go to My View.
This should now list an issue.
[mantis-addusertoproject.png mantis-addusertoproject.thumb.png mantis-createproject.png mantis-createproject.thumb.png mantis-createuser.png mantis-createuser.thumb.png mantis-firstissue.png mantis-firstissue.thumb.png mantis-login.png mantis-login.thumb.png mantis-mysql.png mantis-mysql.thumb.png mantis-openedissue.png mantis-openedissue.thumb.png mantis-setuserpassword.png mantis-setuserpassword.thumb.png]
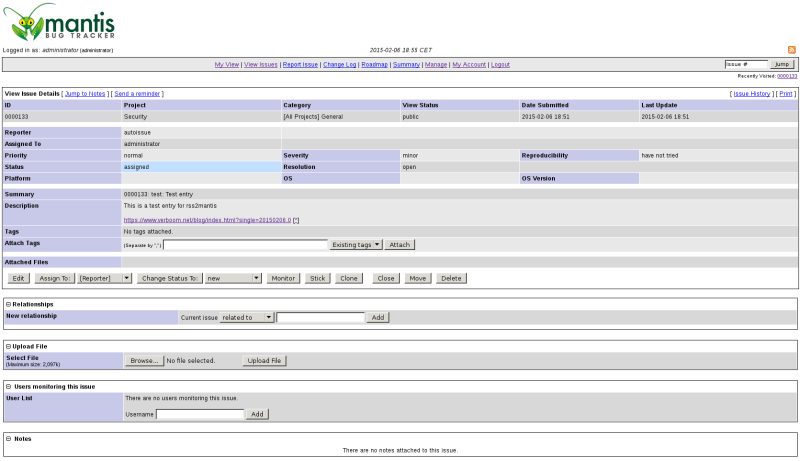
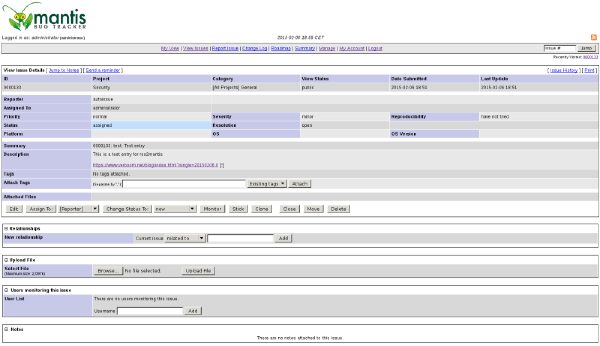
Click on the issue number to open the issue. This should look something like this:
[mantis-addusertoproject.png mantis-addusertoproject.thumb.png mantis-createproject.png mantis-createproject.thumb.png mantis-createuser.png mantis-createuser.thumb.png mantis-firstissue.png mantis-firstissue.thumb.png mantis-login.png mantis-login.thumb.png mantis-mysql.png mantis-mysql.thumb.png mantis-openedissue.png mantis-openedissue.thumb.png mantis-setuserpassword.png mantis-setuserpassword.thumb.png]
With the setup now working, you can schedue rss2mantis to run periodically from cron, for example every hour:
echo "0 * * * * /opt/rss2mantis/rss2mantis -f /opt/rss2mantis/rss2mantis.ini" | crontabBackground and finetuning
The example ini file has most of the available options listed. There might be a few that don’t make sense.
The settings section contains all the global settings. This also includes who should get the issue’s assigned and what the category should be. Options not used in the example, but that can be useful when doing a real implementation are:
basiclogin = "username"
basicpass = "password"These are login details that will be used when requesting the Mantis SOAP interface and are only required when Mantis is behind a webserver with basic authentication.
It is also handy to know that the only section title that has any special meaning is the one named settings. All the others will have to be feeds. The names of those sections aren’t used by the script.
Mandatory per feed is:
url = "feed url"
name = "name of the feed"It is optional to add a category option to a feed. This will override the category defined in the settings section.
After running the script, it will update the file defined in the settings section under statusfile. This contains the last timestamp per feed when the feed was checked. When checking the feed only entries what were created later then the timestamp in the file will be converted to issue’s and posted into Mantis.
With the example configuration, the script isn’t very useful. You need to put in some RSS feed that makes sense for what you want to monitor, for example:
https://nvd.nist.gov/download/nvd-rss.xml
Another useful website to find CVE’s is:
http://www.cvedetails.com/
You can query for specific vendors or products. With some creativity you can also make RSS feeds out of these, for example for openssh:
http://www.cvedetails.com/vulnerability-feed.php?vendor_id=97&product_id=585&version_id=0&orderby=3&cvssscoremin=0
2015/03/25
There is an update for the script, please check the following aritcle:
rss2mantis script update