At the Peugeot dealer I bought a set of front and rear mudflaps: [1flap.jpg align.jpg box.jpg clip.jpg clip1.jpg clip2.jpg finished.jpg front.jpg frontdone.jpg inplace.jpg jack.jpg masking.jpg rear.jpg screws.jpg testfit.jpg wheelremove.jpg]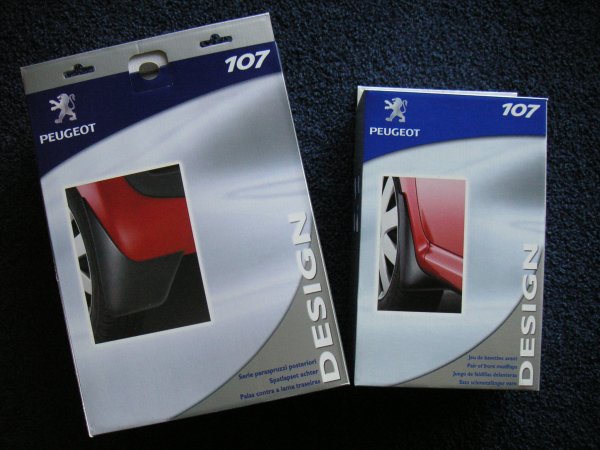 First I started out with the front flaps. Those are the easiest to place. [1flap.jpg align.jpg box.jpg clip.jpg clip1.jpg clip2.jpg finished.jpg front.jpg frontdone.jpg inplace.jpg jack.jpg masking.jpg rear.jpg screws.jpg testfit.jpg wheelremove.jpg]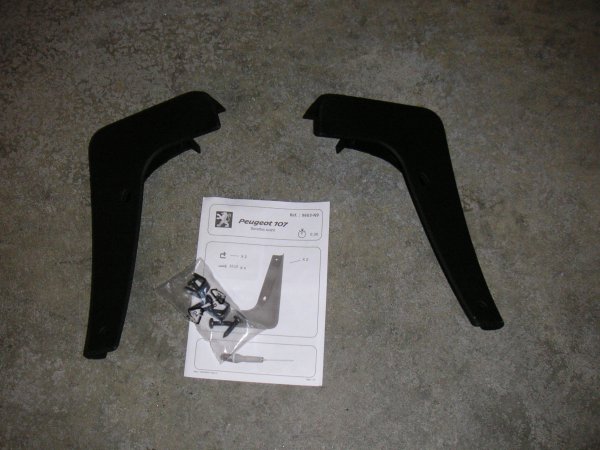 Turn the steering so the wheelarch is visable. The flap screws into place on 2 standard mounting points. [1flap.jpg align.jpg box.jpg clip.jpg clip1.jpg clip2.jpg finished.jpg front.jpg frontdone.jpg inplace.jpg jack.jpg masking.jpg rear.jpg screws.jpg testfit.jpg wheelremove.jpg]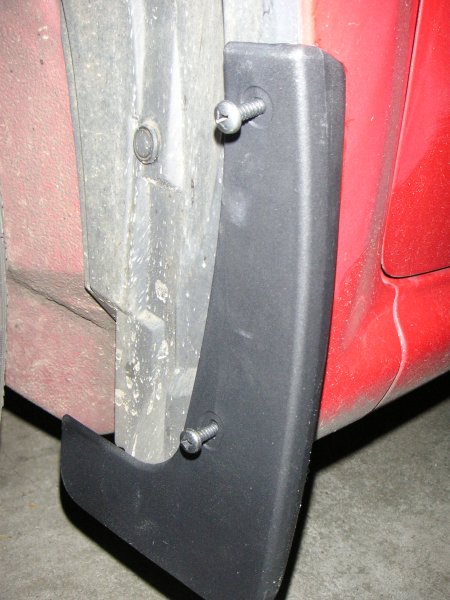 At the bottom a clip is placed. Before placing, put the little screw in the clip. [1flap.jpg align.jpg box.jpg clip.jpg clip1.jpg clip2.jpg finished.jpg front.jpg frontdone.jpg inplace.jpg jack.jpg masking.jpg rear.jpg screws.jpg testfit.jpg wheelremove.jpg]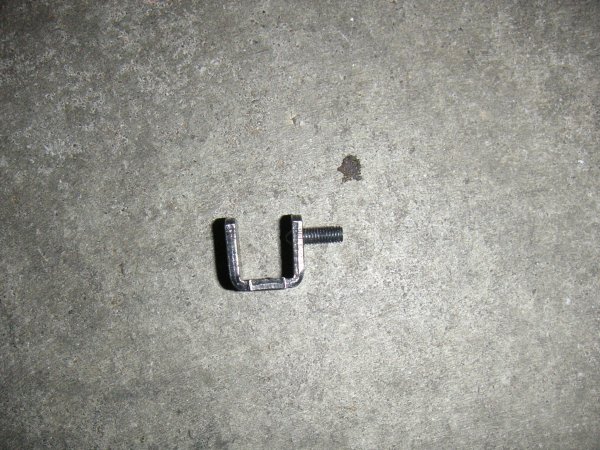 Put it in place an tighten. [1flap.jpg align.jpg box.jpg clip.jpg clip1.jpg clip2.jpg finished.jpg front.jpg frontdone.jpg inplace.jpg jack.jpg masking.jpg rear.jpg screws.jpg testfit.jpg wheelremove.jpg] And the you are finished with the front flaps (I put the car on the jack to easier get to the bottom clip). [1flap.jpg align.jpg box.jpg clip.jpg clip1.jpg clip2.jpg finished.jpg front.jpg frontdone.jpg inplace.jpg jack.jpg masking.jpg rear.jpg screws.jpg testfit.jpg wheelremove.jpg] Then the rear needed to be done. This is a bit more work. [1flap.jpg align.jpg box.jpg clip.jpg clip1.jpg clip2.jpg finished.jpg front.jpg frontdone.jpg inplace.jpg jack.jpg masking.jpg rear.jpg screws.jpg testfit.jpg wheelremove.jpg]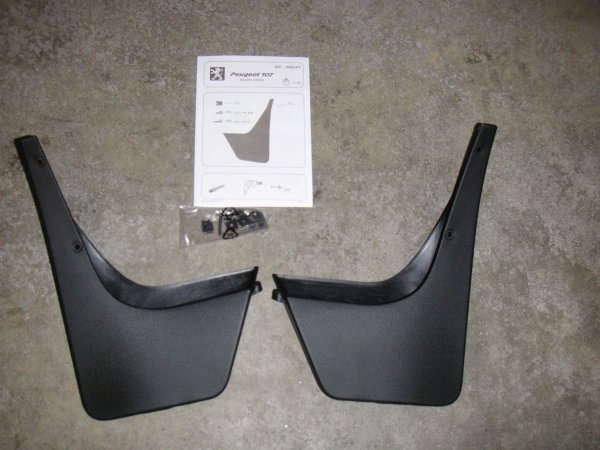 First you jack up the car. [1flap.jpg align.jpg box.jpg clip.jpg clip1.jpg clip2.jpg finished.jpg front.jpg frontdone.jpg inplace.jpg jack.jpg masking.jpg rear.jpg screws.jpg testfit.jpg wheelremove.jpg] And remove the rear wheel. [1flap.jpg align.jpg box.jpg clip.jpg clip1.jpg clip2.jpg finished.jpg front.jpg frontdone.jpg inplace.jpg jack.jpg masking.jpg rear.jpg screws.jpg testfit.jpg wheelremove.jpg] I put some masking tape on the body work to mark the holes that have to be drilled. [1flap.jpg align.jpg box.jpg clip.jpg clip1.jpg clip2.jpg finished.jpg front.jpg frontdone.jpg inplace.jpg jack.jpg masking.jpg rear.jpg screws.jpg testfit.jpg wheelremove.jpg]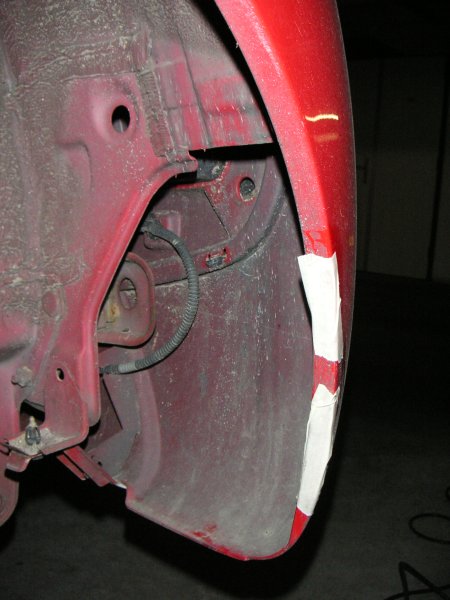 Then you have to testfit the flap, see that it aligns nicely at the rear and mark the positions for the holes. [1flap.jpg align.jpg box.jpg clip.jpg clip1.jpg clip2.jpg finished.jpg front.jpg frontdone.jpg inplace.jpg jack.jpg masking.jpg rear.jpg screws.jpg testfit.jpg wheelremove.jpg] The first hole that has to be done is at the rear. Drill the hole and put the clip in place. [1flap.jpg align.jpg box.jpg clip.jpg clip1.jpg clip2.jpg finished.jpg front.jpg frontdone.jpg inplace.jpg jack.jpg masking.jpg rear.jpg screws.jpg testfit.jpg wheelremove.jpg] Then check again the marking for the other holes, drill them too, place the clips and screw everything up tight. [1flap.jpg align.jpg box.jpg clip.jpg clip1.jpg clip2.jpg finished.jpg front.jpg frontdone.jpg inplace.jpg jack.jpg masking.jpg rear.jpg screws.jpg testfit.jpg wheelremove.jpg] Alignment at the rear is ok with the curve in the body panels. [1flap.jpg align.jpg box.jpg clip.jpg clip1.jpg clip2.jpg finished.jpg front.jpg frontdone.jpg inplace.jpg jack.jpg masking.jpg rear.jpg screws.jpg testfit.jpg wheelremove.jpg]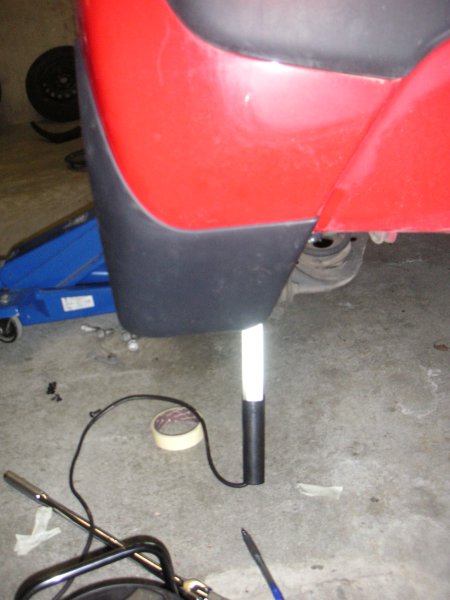 Now put the wheel back and torque it up. Just to compare, this is the car fitten with only 1 flap: [1flap.jpg align.jpg box.jpg clip.jpg clip1.jpg clip2.jpg finished.jpg front.jpg frontdone.jpg inplace.jpg jack.jpg masking.jpg rear.jpg screws.jpg testfit.jpg wheelremove.jpg]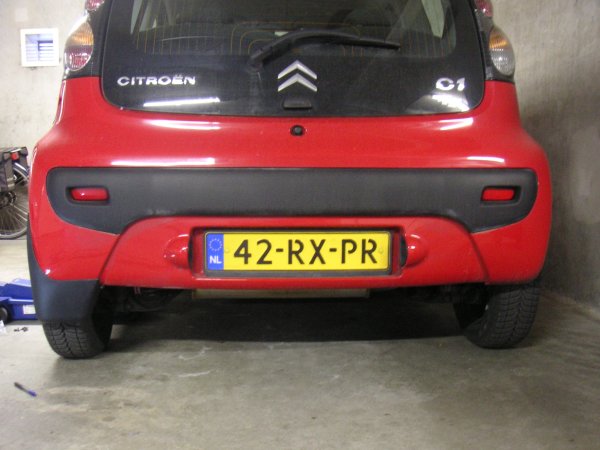 Now do the same at the other side and you're done! The flaps really seem to work, especially the rear ones. The rear still gets dirty but not as quickly. And it looks a lot nicer too! :) [1flap.jpg align.jpg box.jpg clip.jpg clip1.jpg clip2.jpg finished.jpg front.jpg frontdone.jpg inplace.jpg jack.jpg masking.jpg rear.jpg screws.jpg testfit.jpg wheelremove.jpg]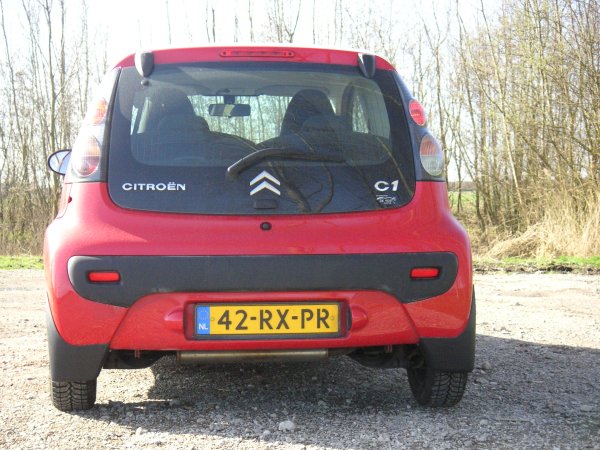 |