When removing the rear clam you need to undo 2 nuts and 2 bolts hidden behind the speaker panel. To remove the speaker panel you have to remove the seats. It's a bit of work that could be optimised when you don't have to remove the seats to remove the speaker panel. So I decided to try a slight modification of the speaker panel. After having had removed the panel when taking off the rear clam I decided to get the saw and reduce the panel to three pieces: 2 speaker pods and a center piece for the alarm interior detection. I fitted up the right pod to see how it would look and what I had to do to make it fit ok. [allpatched-thumb.jpg allpatched.jpg center-thumb.jpg center.jpg done-thumb.jpg done.jpg filled-thumb.jpg filled.jpg gaps-thumb.jpg gaps.jpg glue-thumb.jpg glue.jpg gluefull-thumb.jpg gluefull.jpg left-thumb.jpg left.jpg missed-thumb.jpg missed.jpg neoprene-thumb.jpg neoprene.jpg righttest-thumb.jpg righttest.jpg sand-thumb.jpg sand.jpg squeeze-thumb.jpg squeeze.jpg]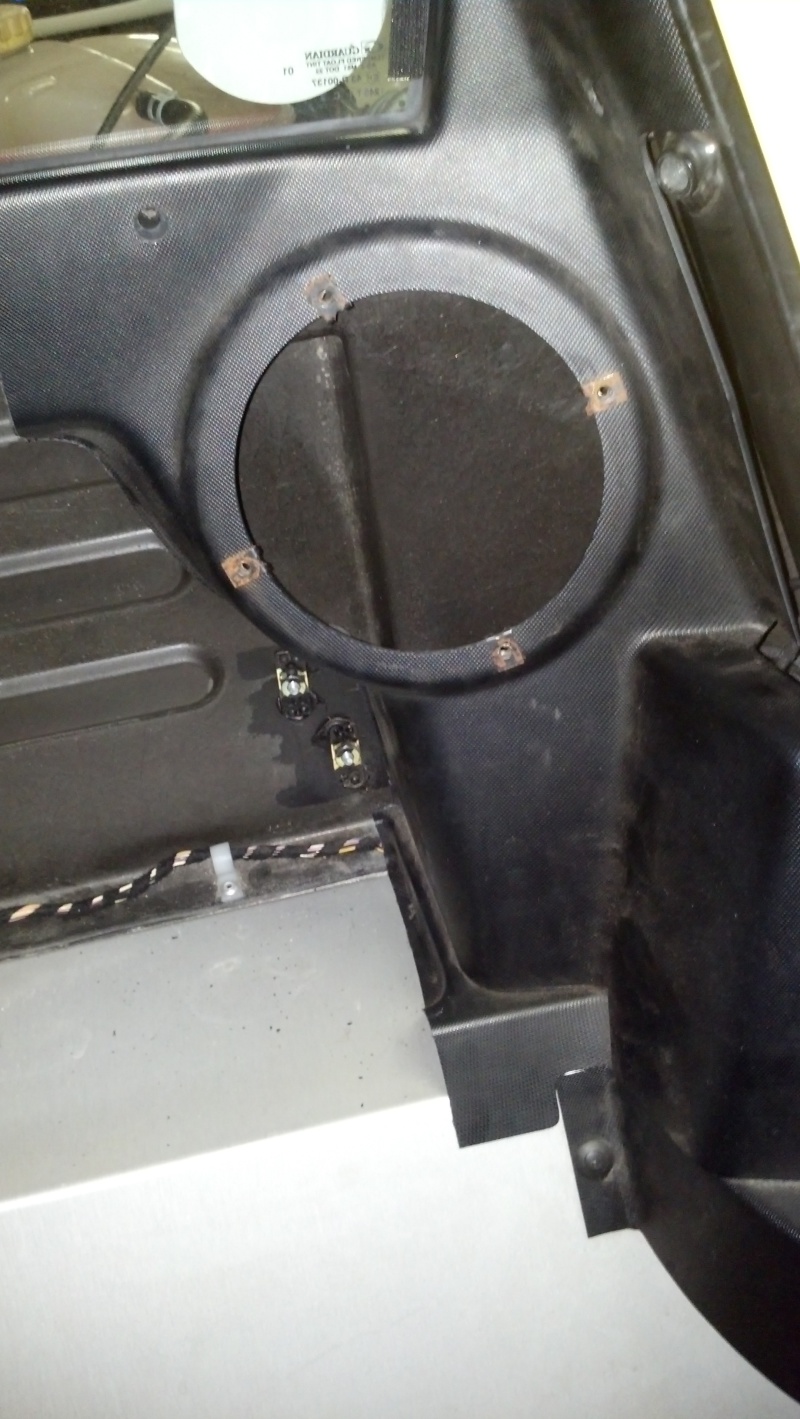 The front and right side look ok and dont need changing. The side and the bottom however do need some gap work. [allpatched-thumb.jpg allpatched.jpg center-thumb.jpg center.jpg done-thumb.jpg done.jpg filled-thumb.jpg filled.jpg gaps-thumb.jpg gaps.jpg glue-thumb.jpg glue.jpg gluefull-thumb.jpg gluefull.jpg left-thumb.jpg left.jpg missed-thumb.jpg missed.jpg neoprene-thumb.jpg neoprene.jpg righttest-thumb.jpg righttest.jpg sand-thumb.jpg sand.jpg squeeze-thumb.jpg squeeze.jpg]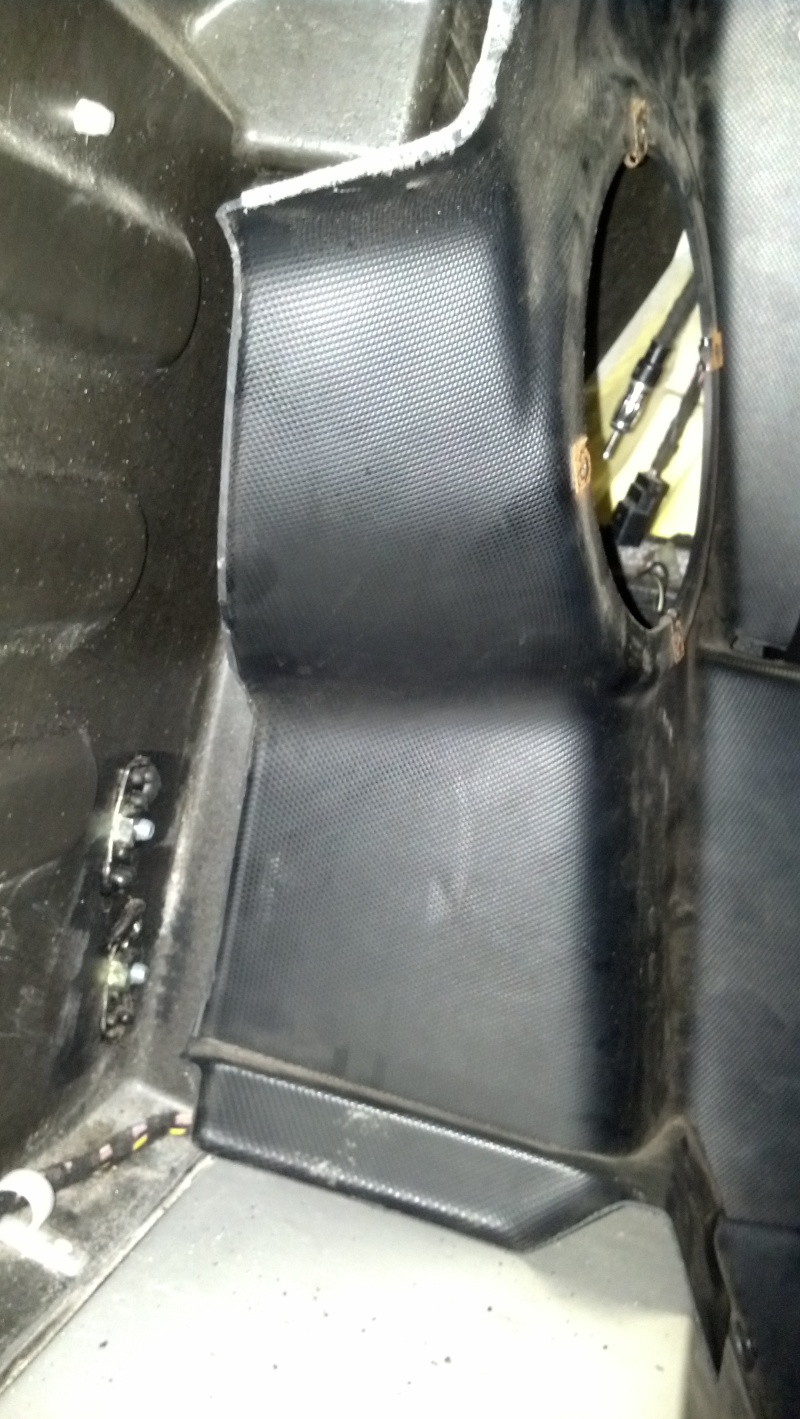 So I bought some ABS panel and started being creative with my dremel, paintstripper (to heat the ABS and bend it) and plastic welder. I filled up all the gaps. [allpatched-thumb.jpg allpatched.jpg center-thumb.jpg center.jpg done-thumb.jpg done.jpg filled-thumb.jpg filled.jpg gaps-thumb.jpg gaps.jpg glue-thumb.jpg glue.jpg gluefull-thumb.jpg gluefull.jpg left-thumb.jpg left.jpg missed-thumb.jpg missed.jpg neoprene-thumb.jpg neoprene.jpg righttest-thumb.jpg righttest.jpg sand-thumb.jpg sand.jpg squeeze-thumb.jpg squeeze.jpg]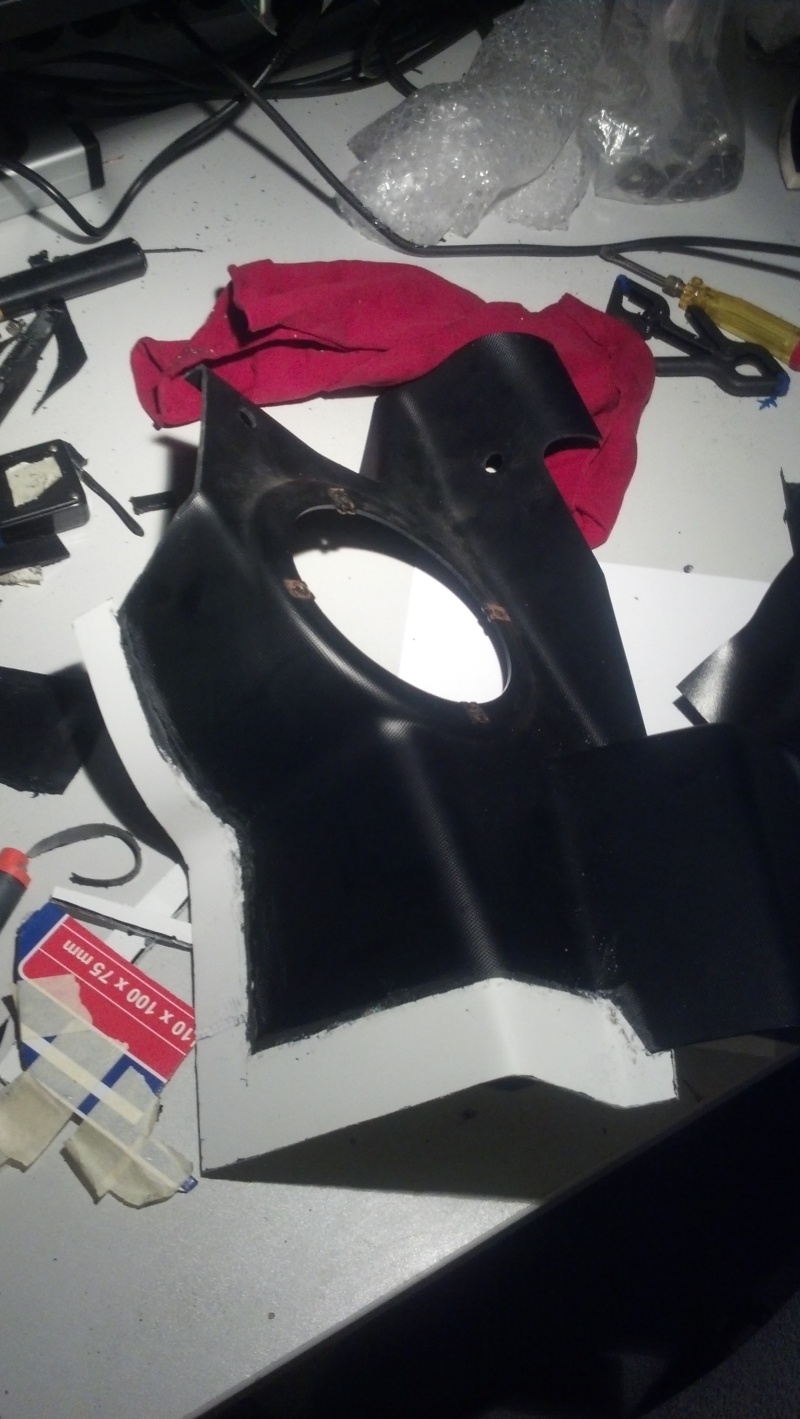 Then I did the same for the left speakerpod. [allpatched-thumb.jpg allpatched.jpg center-thumb.jpg center.jpg done-thumb.jpg done.jpg filled-thumb.jpg filled.jpg gaps-thumb.jpg gaps.jpg glue-thumb.jpg glue.jpg gluefull-thumb.jpg gluefull.jpg left-thumb.jpg left.jpg missed-thumb.jpg missed.jpg neoprene-thumb.jpg neoprene.jpg righttest-thumb.jpg righttest.jpg sand-thumb.jpg sand.jpg squeeze-thumb.jpg squeeze.jpg] The center piece was no different. It also needed extensions to close the gaps. [allpatched-thumb.jpg allpatched.jpg center-thumb.jpg center.jpg done-thumb.jpg done.jpg filled-thumb.jpg filled.jpg gaps-thumb.jpg gaps.jpg glue-thumb.jpg glue.jpg gluefull-thumb.jpg gluefull.jpg left-thumb.jpg left.jpg missed-thumb.jpg missed.jpg neoprene-thumb.jpg neoprene.jpg righttest-thumb.jpg righttest.jpg sand-thumb.jpg sand.jpg squeeze-thumb.jpg squeeze.jpg]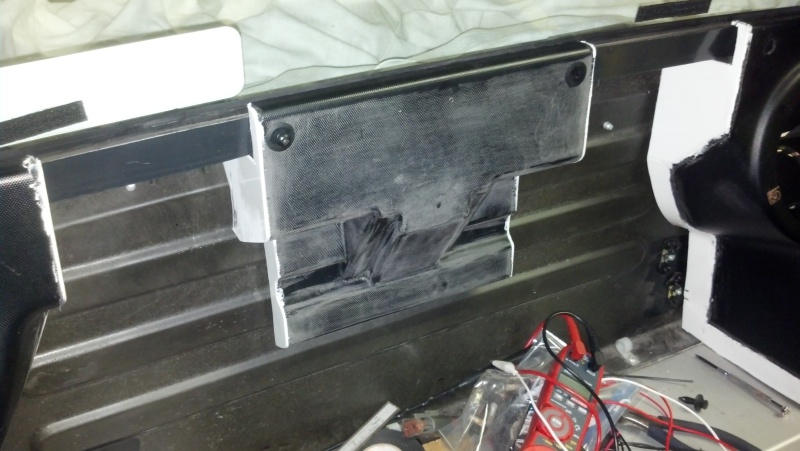 So with all patched pieces in place it now looks like this. [allpatched-thumb.jpg allpatched.jpg center-thumb.jpg center.jpg done-thumb.jpg done.jpg filled-thumb.jpg filled.jpg gaps-thumb.jpg gaps.jpg glue-thumb.jpg glue.jpg gluefull-thumb.jpg gluefull.jpg left-thumb.jpg left.jpg missed-thumb.jpg missed.jpg neoprene-thumb.jpg neoprene.jpg righttest-thumb.jpg righttest.jpg sand-thumb.jpg sand.jpg squeeze-thumb.jpg squeeze.jpg]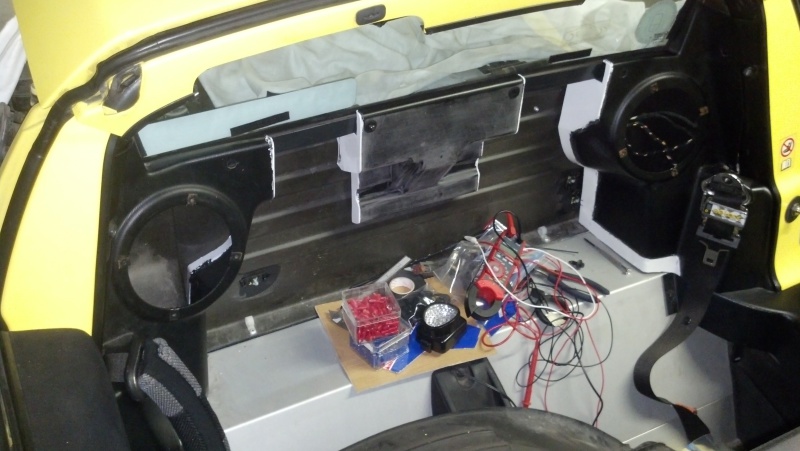 I didn't particularly like the bare firewall showing up. So I made a template from paper and traced that on neoprene sheet. Put some velcro on it and put it on the firewall. [allpatched-thumb.jpg allpatched.jpg center-thumb.jpg center.jpg done-thumb.jpg done.jpg filled-thumb.jpg filled.jpg gaps-thumb.jpg gaps.jpg glue-thumb.jpg glue.jpg gluefull-thumb.jpg gluefull.jpg left-thumb.jpg left.jpg missed-thumb.jpg missed.jpg neoprene-thumb.jpg neoprene.jpg righttest-thumb.jpg righttest.jpg sand-thumb.jpg sand.jpg squeeze-thumb.jpg squeeze.jpg]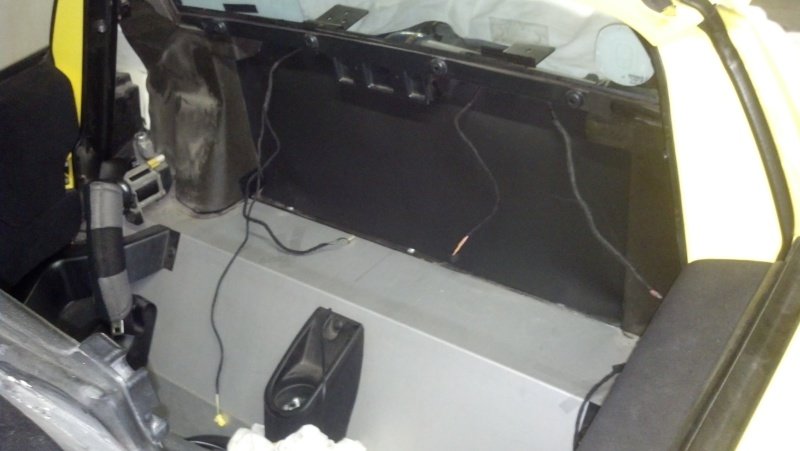 To make the parts look nice and not having to deal with trying to wrap the complex from in fabric, I decided to try flocking. First sand the surface of the piece. [allpatched-thumb.jpg allpatched.jpg center-thumb.jpg center.jpg done-thumb.jpg done.jpg filled-thumb.jpg filled.jpg gaps-thumb.jpg gaps.jpg glue-thumb.jpg glue.jpg gluefull-thumb.jpg gluefull.jpg left-thumb.jpg left.jpg missed-thumb.jpg missed.jpg neoprene-thumb.jpg neoprene.jpg righttest-thumb.jpg righttest.jpg sand-thumb.jpg sand.jpg squeeze-thumb.jpg squeeze.jpg]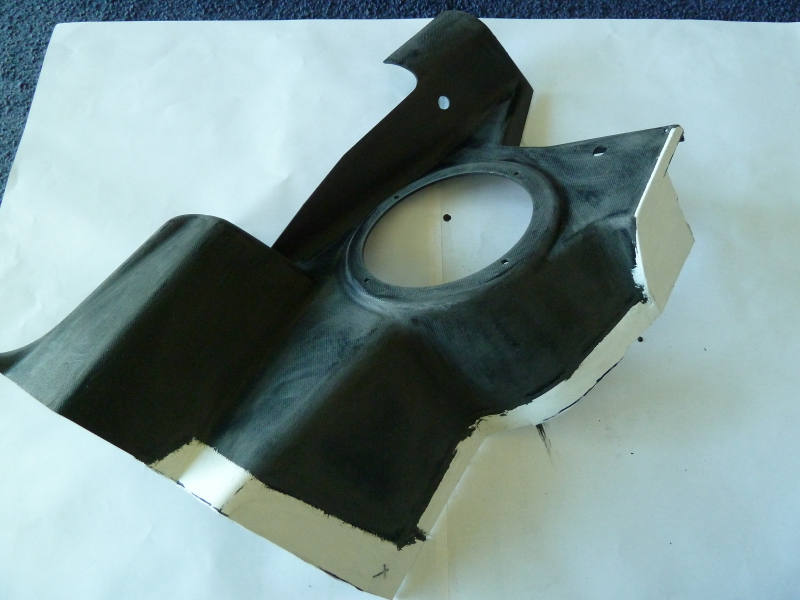 Then apply the base coat of glue. The glue is in the same color as the fiber particles. [allpatched-thumb.jpg allpatched.jpg center-thumb.jpg center.jpg done-thumb.jpg done.jpg filled-thumb.jpg filled.jpg gaps-thumb.jpg gaps.jpg glue-thumb.jpg glue.jpg gluefull-thumb.jpg gluefull.jpg left-thumb.jpg left.jpg missed-thumb.jpg missed.jpg neoprene-thumb.jpg neoprene.jpg righttest-thumb.jpg righttest.jpg sand-thumb.jpg sand.jpg squeeze-thumb.jpg squeeze.jpg]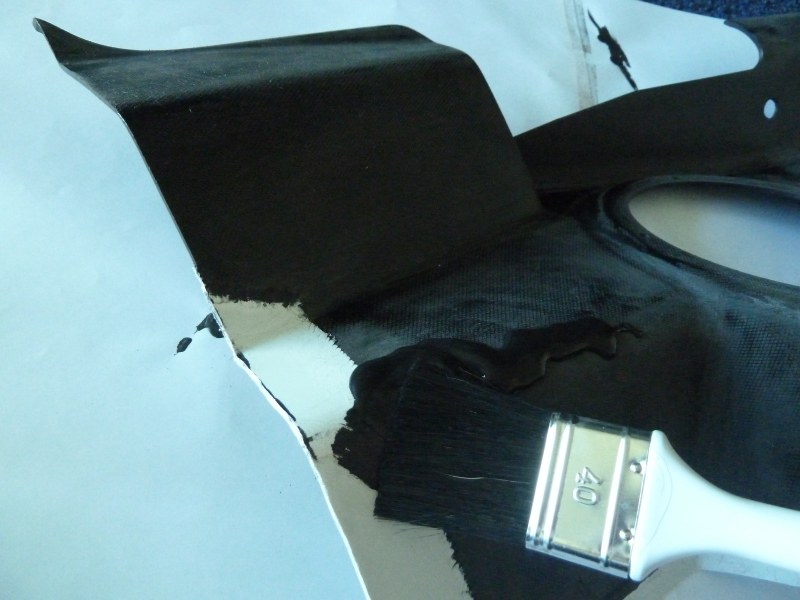 It is already starting to look a lot nicer with the whole piece glued up. [allpatched-thumb.jpg allpatched.jpg center-thumb.jpg center.jpg done-thumb.jpg done.jpg filled-thumb.jpg filled.jpg gaps-thumb.jpg gaps.jpg glue-thumb.jpg glue.jpg gluefull-thumb.jpg gluefull.jpg left-thumb.jpg left.jpg missed-thumb.jpg missed.jpg neoprene-thumb.jpg neoprene.jpg righttest-thumb.jpg righttest.jpg sand-thumb.jpg sand.jpg squeeze-thumb.jpg squeeze.jpg]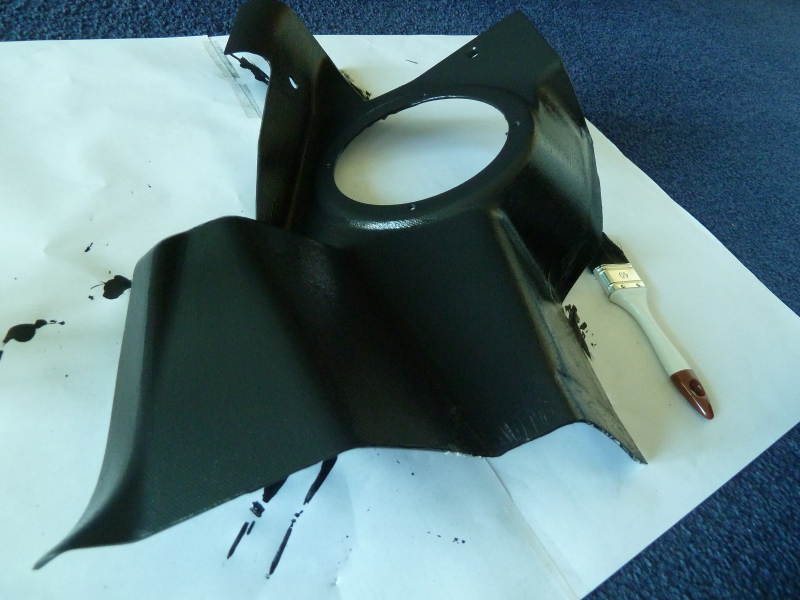 Then you take the applicator bottle, fill it up for 3/4 with black fiber particles and squeeze it. The particles will stick to the glue (and a lot of them will miss the object, but thats no problem) and create a coat. [allpatched-thumb.jpg allpatched.jpg center-thumb.jpg center.jpg done-thumb.jpg done.jpg filled-thumb.jpg filled.jpg gaps-thumb.jpg gaps.jpg glue-thumb.jpg glue.jpg gluefull-thumb.jpg gluefull.jpg left-thumb.jpg left.jpg missed-thumb.jpg missed.jpg neoprene-thumb.jpg neoprene.jpg righttest-thumb.jpg righttest.jpg sand-thumb.jpg sand.jpg squeeze-thumb.jpg squeeze.jpg]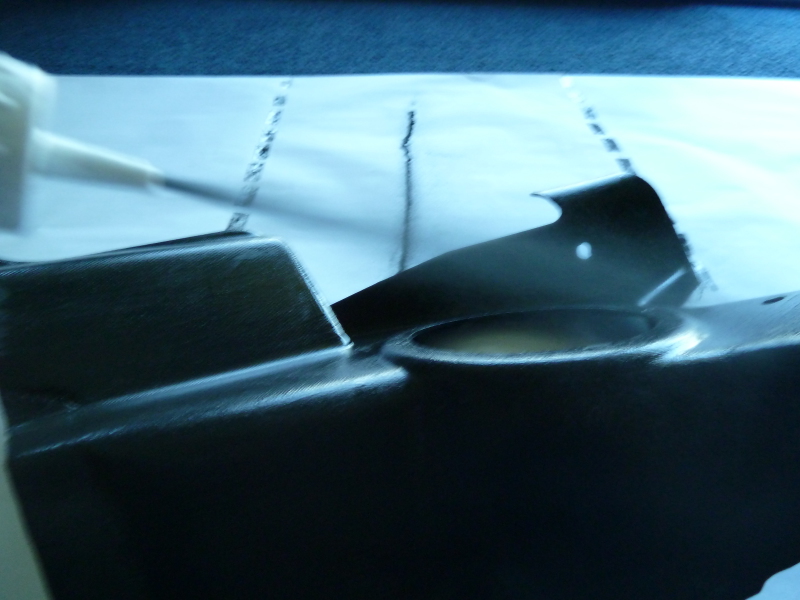 As you can see, a lot of it misses the object :). But it can be used again the next time. [allpatched-thumb.jpg allpatched.jpg center-thumb.jpg center.jpg done-thumb.jpg done.jpg filled-thumb.jpg filled.jpg gaps-thumb.jpg gaps.jpg glue-thumb.jpg glue.jpg gluefull-thumb.jpg gluefull.jpg left-thumb.jpg left.jpg missed-thumb.jpg missed.jpg neoprene-thumb.jpg neoprene.jpg righttest-thumb.jpg righttest.jpg sand-thumb.jpg sand.jpg squeeze-thumb.jpg squeeze.jpg]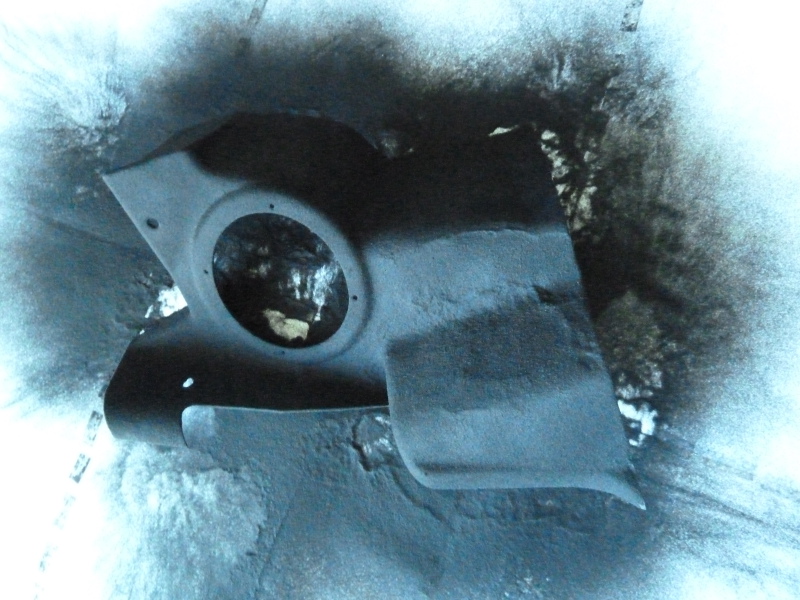 And with all the parts flocked and back in the car it now looks like this. [allpatched-thumb.jpg allpatched.jpg center-thumb.jpg center.jpg done-thumb.jpg done.jpg filled-thumb.jpg filled.jpg gaps-thumb.jpg gaps.jpg glue-thumb.jpg glue.jpg gluefull-thumb.jpg gluefull.jpg left-thumb.jpg left.jpg missed-thumb.jpg missed.jpg neoprene-thumb.jpg neoprene.jpg righttest-thumb.jpg righttest.jpg sand-thumb.jpg sand.jpg squeeze-thumb.jpg squeeze.jpg]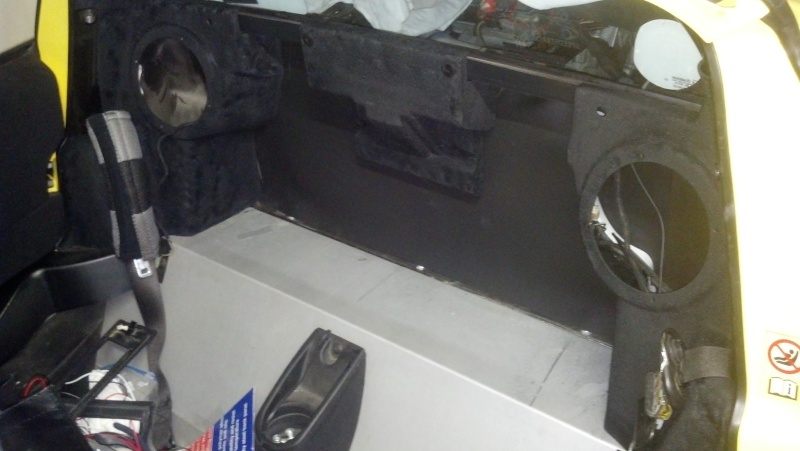 The panels are put in place with the plastic screws at the top and some velcro at the bottom. Removing the panels (sliding them left and right) can be done with the seats in place and is sufficient to remove the clam bolts and nuts. |